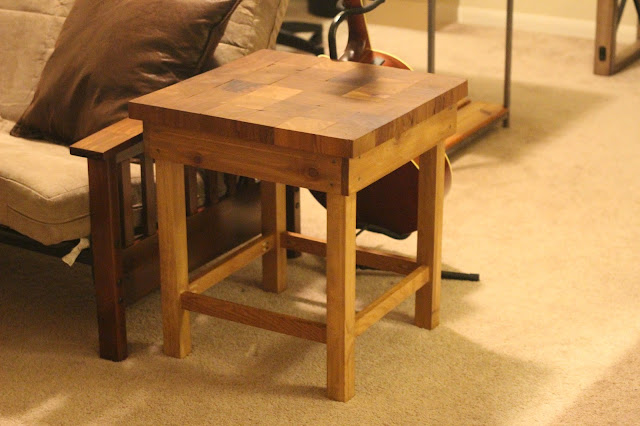
Hello everyone! Welcome back to my blog Rustic DIY Projects! This isn't a "How-To" like all my previous posts were, rather this is just a cool project my father made for me during one of his visits that I felt compelled to share. A few years back I wanted to make an ottoman with a removable flip-top that could also double as a makeshift coffee table. It was a pretty neat idea but I never really went anywhere with it and it got lost in my pile of "started but never finished" projects. However I did put a pretty cool top together using some scrap cedar 4 x 4's I had laying around the garage before I mothballed it. What I did was take the cedar 4 x 4s, cut them into perfectly square cubes, glued them all together, cut them all in half to create two different tops. I then took one of them to a local miller and had them use a drum-sander to even out the top and bottom. And then!.... I just left that one completed top and the other incomplete top in my garage for two years and didn't do anything with them...
So yeah, all that work put into those two tops and then nothing. But luckily my dad happened to spot them laying around during one of his visits and thought they would make great end tables. So he constructed the legs and braces and used the finished top to make an end table. He used danish oil to seal the top and honey stain for the legs. and now thanks to him I have this beautiful checker patterned end table for my loft. He planned on making another one using the unfinished top however we couldn't find any millers in the area who were willing to mill the top level for us. We also didn't want to go back to the same people we went to for the first one because they were very unfriendly, overly confrontational people and I wasn't about to subject my dad to that. But anyways if you happen to live in an area with friendly millers this is another cool idea for a project you can do. Let me know what you think!


No comments:
Post a Comment